
How to Clean Battery Terminals Safely at Home
Sep 4, 2026 · 6 min read
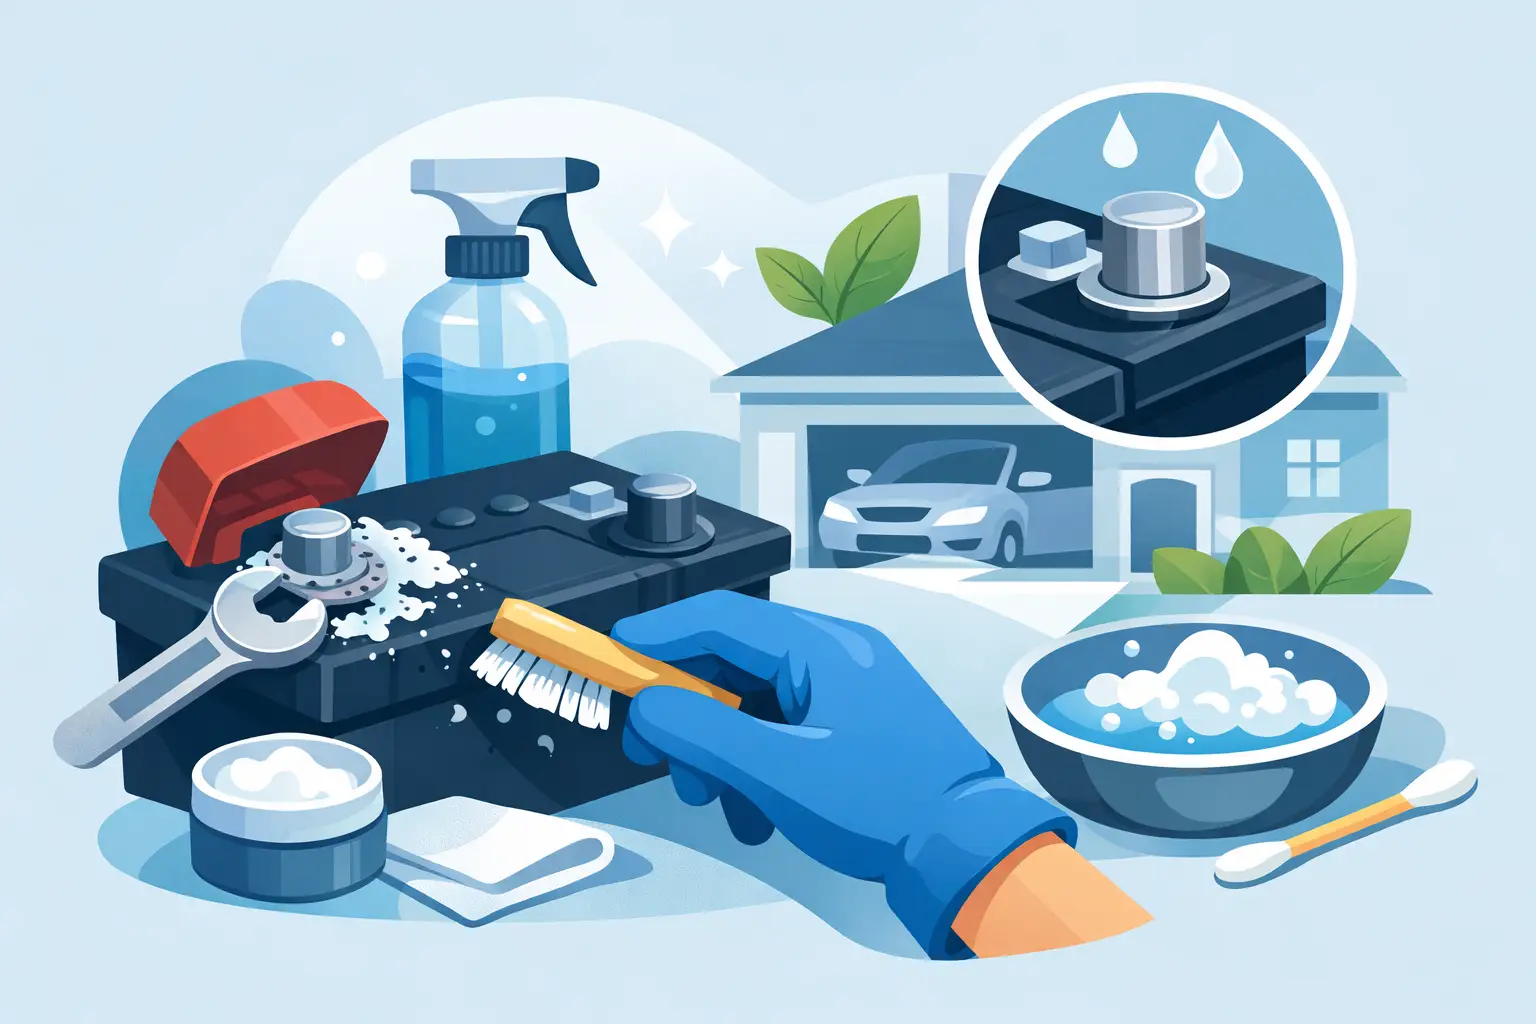
A vehicle that cranks slowly on a cold Canadian morning may not need a new battery at all. White, blue, or green buildup around the connections can interrupt the flow of power between the battery and your vehicle. Knowing how to clean battery terminals safely can restore a reliable connection, help prevent no-start situations, and give you a clearer picture of whether the battery itself needs attention.
Battery terminal cleaning is a practical maintenance task for many vehicle owners, but it is not a cure for every electrical problem. If corrosion returns quickly, the battery case is swollen, the cables are damaged, or the vehicle still struggles to start after cleaning, a professional inspection is the safer next step.
Why battery terminal corrosion causes problems
Your battery works by storing chemical energy and delivering electrical power when the starter, lights, heating system, and other components need it. The terminals are the connection points between that power source and the vehicle's electrical system. When corrosion builds up there, it creates resistance.
That resistance can make a healthy battery behave like a weak one. You may notice dim headlights, slow cranking, intermittent electrical accessories, warning lights, or a clicking sound when you turn the key or press the start button. Cold weather puts added demand on a battery, which is why a small amount of corrosion can become a bigger issue during a Canadian winter.
Corrosion often appears as a powdery white substance, though it can also look blue or green depending on the metals involved. It may form because of normal battery gases, slight electrolyte seepage, age, overcharging, loose connections, or a charging-system issue. Cleaning it helps, but finding the reason it developed matters if it keeps coming back.
What you need before you begin
Choose a dry, well-ventilated location away from sparks, flames, and cigarettes. Batteries can release hydrogen gas, which is flammable. Turn the vehicle off completely, remove the key or fob from the immediate area, apply the parking brake, and let the engine bay cool if the vehicle has been running.
For most standard lead-acid batteries, gather a pair of safety glasses, chemical-resistant gloves, a battery terminal brush or small stiff brush, clean rags, water, baking soda, a small container, and a wrench or socket that fits the terminal clamps. A little petroleum jelly or purpose-made battery terminal protectant can be useful once the connections are clean and dry.
Avoid working with cracked, leaking, badly swollen, or frozen batteries. Do not try to clean damage away. Battery acid can cause burns, and a damaged battery can fail unexpectedly. If you see fluid around the battery or smell a strong sulphur or rotten-egg odour, stop and arrange for service.
How to clean battery terminals step by step
Before disconnecting anything, take a quick photo of the battery and cable positions. It is simple insurance if you are unfamiliar with your vehicle's under-hood layout. Some newer vehicles may have battery monitoring sensors or protective covers, so avoid forcing parts that do not move easily.
1. Disconnect the negative terminal first
Locate the negative terminal, usually marked with a minus sign or connected to a black cable. Loosen the clamp nut enough to lift the connector straight off the battery post. If it is stuck, gently twist it rather than prying against the battery case.
Disconnecting the negative side first reduces the chance of creating a short circuit if your tool touches metal elsewhere in the engine bay. Once removed, position the cable where it cannot spring back onto the terminal.
Next, disconnect the positive terminal, usually marked with a plus sign or a red cable. Keep metal tools away from both terminals at the same time. A battery can deliver a very high current in a short circuit, even when the vehicle is switched off.
2. Neutralize and remove the corrosion
Mix a small amount of baking soda with water until it forms a thin paste. Apply it carefully to the corroded battery posts, cable clamps, and the top of the battery around the terminals. You may see fizzing, which is normal when the baking soda neutralizes acidic residue.
Do not pour a large amount of liquid over the battery. The goal is to clean the outside connections, not flood the battery or nearby electrical components. Keep the mixture away from battery vent openings and rinse only with a damp rag when needed.
Use the terminal brush to scrub the battery posts and the inside surfaces of each cable clamp until the metal looks clean. A proper terminal brush is useful because it reaches both contact surfaces, but a small stiff brush can work for light buildup. Wipe away the loosened residue with a clean rag.
For heavy corrosion, repeat the process in small amounts rather than using excessive force. Aggressive scraping can damage the soft lead battery posts or weaken a corroded cable end.
3. Dry and inspect every connection
Dry the battery top, posts, clamps, and surrounding area thoroughly. Moisture left around the terminals can encourage future corrosion and makes it harder to see whether there is an active leak.
Check the cable clamps for cracks, frayed wiring, missing insulation, or clamps that have stretched and no longer tighten securely. Also look at the battery hold-down. The battery should not shift when you gently push it. A loose battery can damage terminals, cables, and the battery case over time.
If corrosion has travelled several centimetres up the cable, cleaning the visible terminal may not be enough. Acid can wick into the cable and create resistance inside the wire, where you cannot see it. That situation usually calls for a closer inspection and possibly cable replacement.
4. Reconnect the terminals in the correct order
Reconnect the positive terminal first. Push the clamp fully onto the post and tighten it until it is secure. It should not rotate by hand, but do not overtighten it. Excessive force can crack the clamp or damage the battery terminal.
Reconnect the negative terminal second using the same approach. Once both are attached, apply a light coating of petroleum jelly or battery terminal protectant to the outside of the connection. This helps limit moisture and air exposure, but it should not be used as a substitute for a tight, clean metal-to-metal connection.
Replace any protective terminal covers, close the hood, and start the vehicle. If it starts normally and electrical accessories operate properly, the cleaning may have solved the immediate connection issue.
Common mistakes to avoid when cleaning terminals
Never clean battery terminals with the engine running. Avoid using an open flame, a metal screwdriver to pry off clamps, or a high-pressure water spray under the hood. These shortcuts can create hazards or cause unnecessary electrical damage.
It is also tempting to disconnect the positive terminal first because it is easier to reach. That increases the risk of a short if your wrench contacts grounded metal. Negative first, positive second when disconnecting is the safer routine. When reconnecting, reverse the order: positive first, negative last.
Some drivers use cola or other household liquids to remove corrosion. While acidic liquids can loosen deposits, they can also leave sticky residue and are not the cleanest or most controlled solution. Baking soda and water, used sparingly, remain the more practical choice for standard terminal corrosion.
When cleaning is not enough
A clean terminal cannot repair an old battery, a failing alternator, or a parasitic electrical draw. If the vehicle still needs a boost after terminal cleaning, starts slowly, or the battery warning light is on, testing the battery and charging system is the next sensible step.
Most batteries last roughly three to five years, but climate, driving habits, and electrical demand all affect lifespan. Short trips can prevent the battery from fully recharging, while severe winter temperatures reduce available starting power. A battery may look clean and still fail a load test.
Get professional help promptly if the battery is leaking, swollen, repeatedly corroding, or more than a few years old and showing starting problems. Niks Auto Repair can inspect the battery, terminals, cables, and charging system to identify the real cause before a minor connection problem leaves you stranded.
A quick terminal check with your regular oil changes or seasonal maintenance can save a frustrating morning. Clean, secure connections are a small detail, but they help your vehicle deliver the dependable start you expect when you need to get moving.